

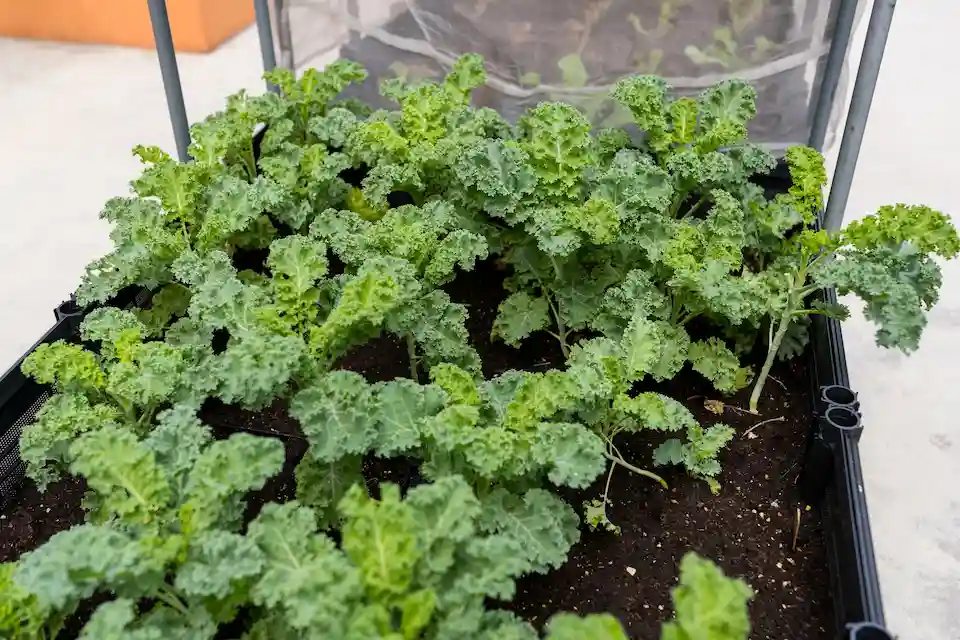
Other (Brassica oleracea var. sabellica) green vegetables from the cabbage family which are famous for their high nutritional content, such as vitamins A, C, K, as well as minerals such as calcium and potassium. The wavy or pointed leaves are often used as an ingredient in salads, sup, smoothies, and other healthy dishes.
Originating from the Mediterranean region, kale can now be grown in various parts of the world, including in cold climates. Apart from being easy to care for, this plant is also suitable for growing at home because it does not require complicated care and can be harvested in a few months.
With the right growing medium and simple care, you can enjoy fresh kale full of nutrients straight from your own garden!
1. Selection of the Right Variety

Choosing the right kale variety is an important first step in cultivation. Each variety has unique advantages to suit your needs and tastes. The Kaleo F1 variety has wide leaves and a sweet taste that is suitable for various dishes.
For lovers of Italian flavors, the Nero Di Toscana F1 variety with dark green leaves with a curly texture is the right choice. If you want to add a touch of color to your dishes, the Redbor F1 variety comes with a striking purple color, delicious taste and crunchy texture.
For fresh salads, the Miga F1 variety with smooth leaves is highly recommended. Finally, if you plan to grow kale in cold areas, the Darkibor variety with weather-resistant dark green leaves is the right answer. Choose the variety according to your needs, and enjoy the benefits of kale in a variety of dishes!
2. Land Preparation

Before planting kale, make sure the land is clear of weeds or rocks that could hinder growth. Loosen the soil with a hoe or tractor to a depth of 20-30 cm to ensure the plant roots can develop optimally.
Next, make beds of the ideal size: 100-120 cm wide, 30 cm high, and 30 cm distance between beds. To prevent weeds from growing, use plastic or organic mulch to cover the beds.
If the soil pH is less than 6, add dolomite lime (1.5 tons/ha or 150 grams/m²) by sprinkling it on the bed 2-4 weeks before planting. Don’t forget to add basic fertilizer in the form of manure as much as 1 kg/m² which is spread evenly over the bed. This step ensures the soil is nutrient-rich and ready to support healthy kale growth!
3. Seeding
To start cultivating kale, the first step is to ensure the seeds are ready to grow. Soak kale seeds in warm water for 12-24 hours to speed up the germination process.
After that, sow for 2-3 weeks using media such as beds, polybags, or seedling trays. Make sure the planting medium consists of a loose mixture of soil and organic fertilizer.
Before planting, moisten the planting medium sufficiently, make a small hole, and insert the seeds carefully. With good care at this stage, you will get strong kale seedlings that are ready to be transplanted to the main land.
4. Transplanting

Once the kale seedlings are 2-3 weeks old or have 3-4 leaves, it’s time to move them to the bed. Choose quality seeds with upright stems, fresh green leaves, and free from pests or diseases.
Before planting, water the bed first so that the soil is easier to work with and the plants adapt quickly. Make planting holes with a distance of 30 x 30 cm to provide optimal growing space.
Move the seedlings carefully along with the planting medium to keep the roots intact. It is best to do this process in the morning or evening to avoid stress due to the heat of the sun. With this step, kale will grow well and be ready to provide maximum results.
5. Regular Maintenance
Caring for kale plants is actually easy, as long as you know how! Kale plants love attention, so you need to take several steps to ensure optimal growth. Here are some tips for caring for kale plants so that they stay healthy and grow well:
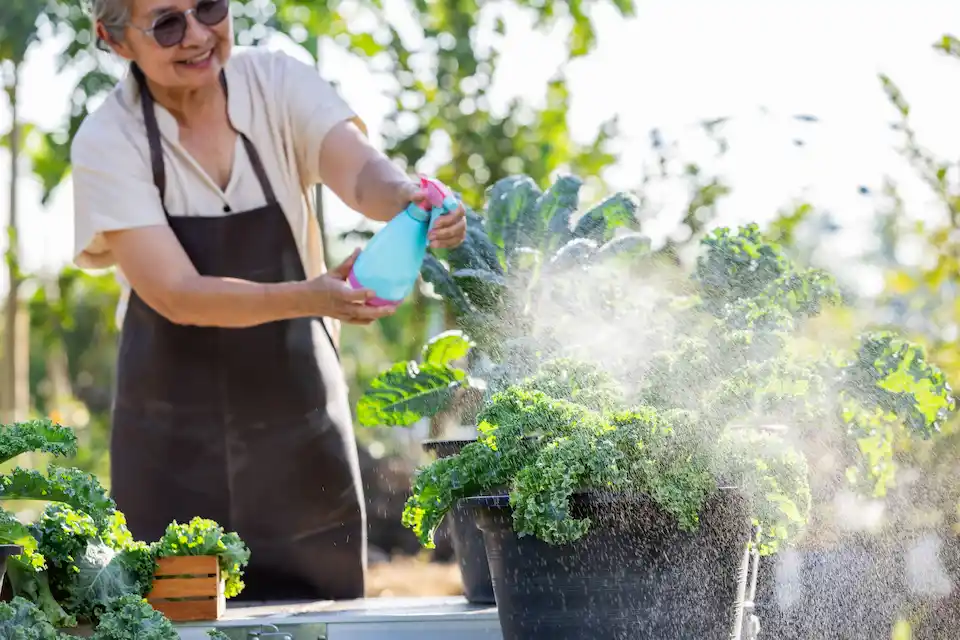
a. Regular Watering
Kale plants need sufficient moisture, especially in the early growth stages. For this reason, it is important to water the plants regularly, but avoid water pooling around the roots because this can cause the roots to rot.
Make sure the soil remains moist, but not waterlogged so that kale can grow healthily and optimally. Proper watering will help kale plants grow well and produce fresh, nutrient-rich leaves.
b. Weeding
Weeding is an important step in kale cultivation to ensure the plants grow optimally. Weeds that grow around kale can disrupt its growth because they compete for water and nutrients.
Therefore, weeding needs to be done regularly, around 2-4 times during the cultivation period. Make sure to clear the land of weeds that grow around the plants, especially in dense and damp areas so that the kale gets enough space and resources to grow well.
c. Follow-up Fertilization
Kale needs adequate nutrition to grow well. So that kale grows well, provide organic fertilizer such as compost or manure every few weeks. This fertilizer will provide important organic matter for the soil and help plants get the nutrients they need.
Apart from that, the use of fertilizer containing nitrogen is also recommended to support its growth, especially for its green and wide leaves. With proper fertilization, kale will grow healthily and produce fresh leaves that are rich in benefits.
6. Pests and Diseases

Like other plants, kale is also susceptible to pests and diseases. Some pests that can attack kale include aphids (Aphis sp), armyworm (Spodoptera litura), leaf caterpillars (Plutella xylostella), and leafminer flies (Liriomyza brassicae).
Meanwhile, diseases that often attack kale include damping off of seedlings, leaf rot and club root. To control these pests and diseases, farmers can use plant-based pesticides that are more environmentally friendly, or chemical pesticides if necessary. Proper control will help maintain healthy kale plants and ensure optimal yields.
7. Harvest

Kale is ready to be harvested after about 40-50 days from planting. The characteristics of ripe kale are characterized by leaves that are dark green, curly, and quite old. To harvest, pick the oldest leaves located on the outside of the plant, starting from the bottom leaves.
Make sure to leave some leaves in the middle so the plant can continue to grow well. After kale has been harvested several times, the plant needs to be removed and replaced with new seeds to ensure optimal quality and yield.


