

Shallots are one of Indonesia’s essential agricultural commodities, widely cultivated due to high demand and relatively stable prices.
However, to achieve optimal shallot yields, farmers need to understand proper cultivation techniques. Here is a complete guide on how to grow shallots to achieve a plentiful harvest.
1. Choosing the Right Variety
The first step in shallot farming is to select a variety suited to the environmental conditions in your area. Popular varieties in Indonesia include Bima Brebes, Sumenep, and Batu Ijo, known for their resilience to tropical climates and high yield potential.
2. Land Preparation
Prepare the soil to ensure it is loose and fertile. Follow these steps:
- Dig the soil to a depth of 20-30 cm to improve air circulation.
- Create raised beds 20-30 cm high, 1-1.2 meters wide, and with 30-40 cm spacing between beds.
- Check the soil pH; shallots grow best in pH 5.5-6.5. If the soil is too acidic, add dolomite lime to neutralize it.
3. Base Fertilization
Enrich the soil by adding organic fertilizer before planting. Use 10-15 tons of manure or compost per hectare. You can also add 250-300 kg of NPK (15-15-15) per hectare to enhance soil nutrients.
4. Seed Preparation
Choose healthy, disease-free shallot bulbs. Ideal bulb size is around 5-10 grams. Cut off about 1/3 of the top to encourage sprouting. The seeds are ready for planting once new sprouts appear.
5. Planting the Shallot Bulbs

Plant the bulbs with the tips facing upward, allowing part of the bulb to remain visible on the soil surface. Ideal spacing is 15-20 cm between rows and 10 cm between plants. Crowded planting can hinder bulb growth.
6. Regular Watering

Water regularly, especially in the mornings and evenings during the growth period. During early stages, shallots need plenty of water, but after 3-4 weeks, reduce watering to 2-3 times a week to prevent bulb rot.
Also Read: Check out these 4 Benefits of Shallots for Body Health
7. Follow-up Fertilization
Additional fertilization is essential to support plant growth. Two to three weeks after planting, apply NPK (16-16-16) or ammonium sulfate (ZA) at 150-200 kg per hectare for extra nutrients.
8. Weeding and Mounding
Weed regularly to remove any plants competing for nutrients. Around 4-5 weeks, perform mounding by piling soil around the plant base to strengthen the stems and enlarge the bulbs.
9. Pest and Disease Control
Regularly monitor plants to prevent pest and disease attacks. Common pests in shallots include soil caterpillars, thrips, and aphids.
10. Leaf Trimming
At 50-55 days, if necessary, trim the leaves to speed up drying and bulb ripening. However, ensure correct trimming to avoid affecting bulb growth.
11. Harvesting Shallots
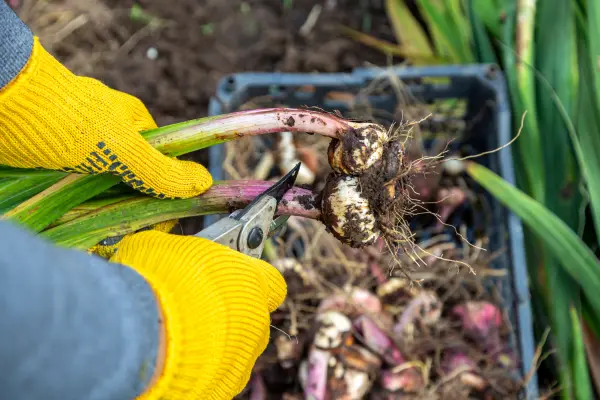
Shallots are typically ready for harvest at 60-70 days after planting. Signs of readiness include 60-70% of the leaves turning yellow and falling. Carefully pull the bulbs and place them in a dry, sunny spot for 7-10 days of drying.
12. Post-Harvest Storage
Once dried, store shallots in a cool, dry place. Use containers with good air circulation, like mesh or perforated baskets, to prevent moisture buildup and rot.
Following these steps will help you grow shallots properly and yield optimal results. Key success factors include selecting the right variety, preparing the soil effectively, and providing intensive care to the plants. Regular monitoring is also essential to avoid pests and diseases that could impact your harvest.
Conclusion Shallot farming requires proper techniques from land preparation to post-harvest storage. By following these steps, you can increase the productivity of the shallot plants and achieve a bountiful harvest.


